DIY HARDWARE GUIDE
CDTV Keyboard on Arduino Getting Started
Parts, wiring, firmware, and setup instructions for this RetroSpy configuration.
Downloads
- Download the latest RetroSpy release. It contains the desktop application and controller firmware.
- Download the Arduino IDE only if you need to program your own Arduino board.
What You Need
- One of the following boards:
- Arduino Uno
- Arduino Nano
- Pre-programmed Arduino Uno from the RetroSpy store
- USB cable to connect the Teensy to your computer
- A RetroSpy CDTV cable.
- 5-Pin Midi Cable
- Two 5-Pin Mini DIN to Standard MIDI DIN Adapter Cable like these
- 5-Pin Mini-DIN Pass-through Breakout Board
- Wires connect to the breakout board, like these
Instructions
Wiring – No Soldering Required
It is possible to solder jumper wires onto each wire of the extension cable like some other platforms, but since the we are dealing with a standard port type, we can build a cable with no soldering required. NOTE: Most of the time the direction of the breakout board doesn’t matter, just plug the controller into one end and the extension cable into the other.
- Take the extension cable, wires and Breakout Board you have acquired and put them together in this configuration:
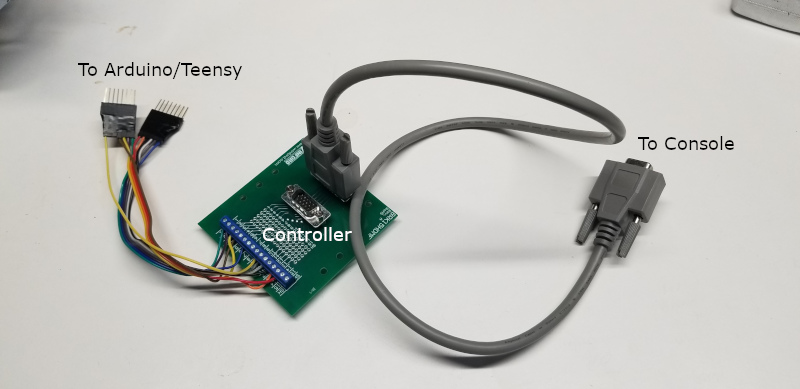
Hooking it up
- Download and install the latest release of RetroSpy.
- Install the latest Arduino software, download the Windows Installer option. If you are not programming your own board you can skip this step.
- Hook up the RetroSpy cable to your Arduino according to this pinout.
CDTV Pin Arduino Digital Pin 1 GND 2 4 3 3 4 Not Connected 5 Not Connected - Plug the controller into the RetroSpy cable.
- Plug the RetroSpy cable into the console.
- Plug the USB cable into the Arduino.
- Plug the other end of the USB cable into the display PC.
Program the Arduino
If you purchased a pre-programmed board, skip this section and continue to the RetroSpy application setup.
- Install the Arduino IDE and connect the Arduino to the computer.
- Open
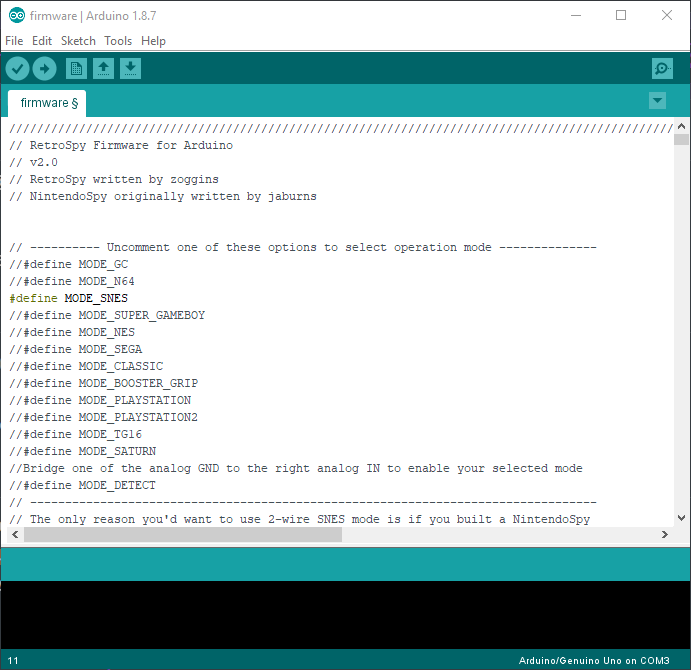
firmware/firmware.inofrom the latest RetroSpy release. - In the firmware options, enable
MODE_AMIGA_KEYBOARD. Leave only the mode required by this guide enabled. - Select the correct board and serial port in the Arduino IDE.
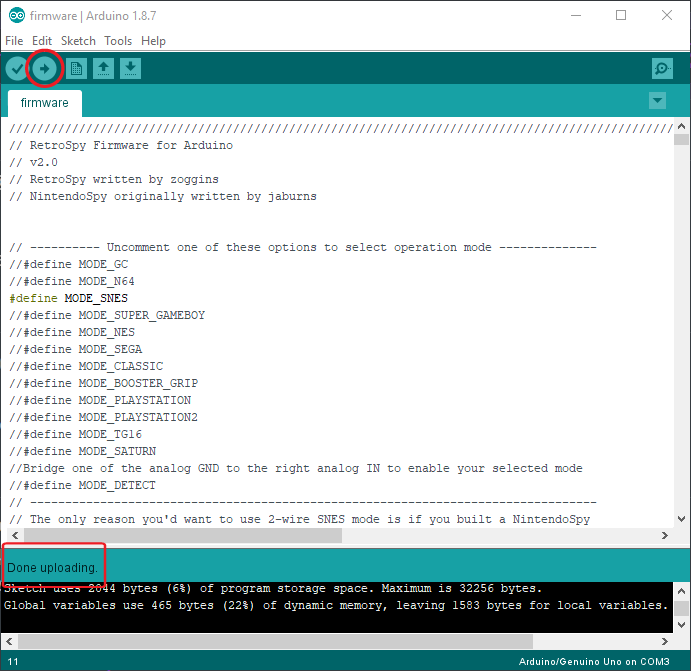
- Choose Upload. Wait for the IDE to report that the upload completed successfully.
Use the RetroSpy application
- Connect the programmed board and power on the console or controller adapter.
- Launch the RetroSpy desktop application from the latest release.
- Select the serial port used by the board.
- Select CDTV Keyboard on Arduino Getting Started and choose a skin.
- Choose Go, then press controller buttons to confirm that the display responds.
Troubleshooting
- No serial port appears
- Reconnect the USB cable, try a data-capable cable or another USB port, and restart the application.
- The display opens but inputs are wrong
- Confirm the selected controller type, firmware mode, and every pin connection.
- The controller stops working on the console
- Disconnect the RetroSpy board and retest the extension cable. Look for a short, reversed connector, or damaged splice.
- Still stuck?
- Contact RetroSpy support and include the console, controller, board type, firmware mode, and a clear wiring photo.