Software Setup
Once the wiring is done and everything is hooked up to your game system and computer, now for the easy part.
- Make sure the the USB cable between your Arduino and PC is connected and if you are not going to program your own board you can now skip to Step 10.
- Open the Arduino software that you installed above.
- You should see “Arduino on COMX” at the bottom right corner if everything is working. If not, you may need to restart and/or replug the USB connector.
![]()
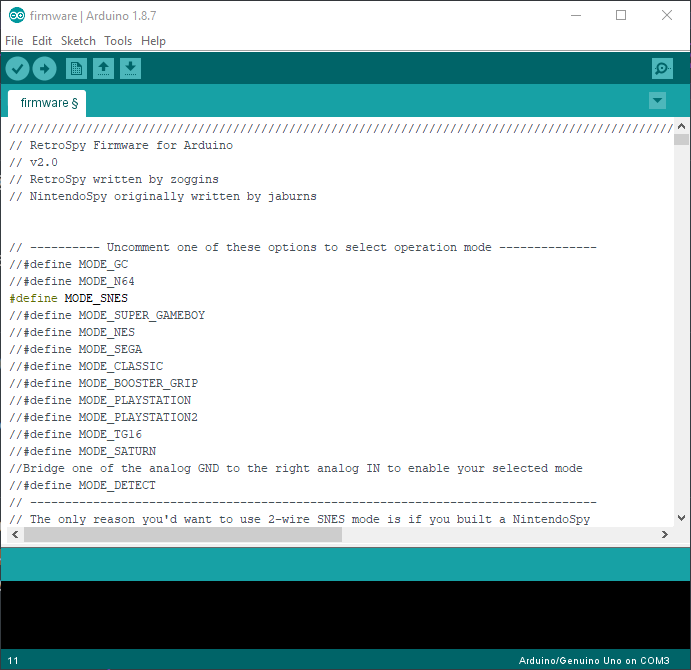
- Open common.h in the RetroSpy installation directory (by default this is
C:\Program Files (x86)\RetroSpy\firmware) with any available text editor and uncomment the line to enable the use of the library in the RetroSpy firmware. - In the Arduino software select File->Open from the menubar and open the
firmware.inofile from the firmware folder of the installed RetroSpy release (by default this isC:\Program Files (x86)\RetroSpy\firmware). - Now uncomment the option for
MODE_SNES. Note thatMODE_SNESis uncommented in this image.
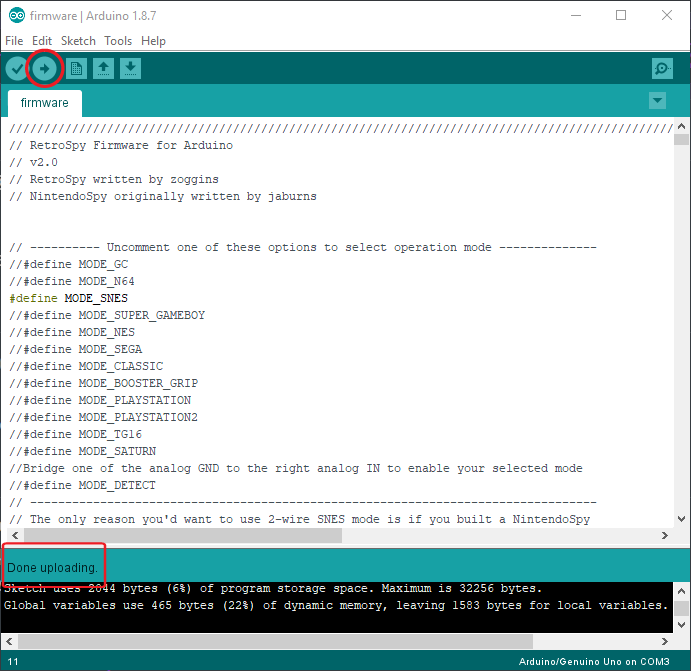
- Hit the upload button (right pointing arrow) located just under the ‘Edit’ menu, this will upload and run the software on the Arduino. It should look like the following image. Once successfully uploaded, you won’t have to upload software again to the Arduino again unless you want to change controller modes.
- Power on the console.
- Run
RetroSpy.exe. - The selection here should be pretty straightforward, select the ‘COMX’ port that the Arduino is on, select the controller you are using, select a skin, and hit ‘Go’. If everything is hooked up correctly you should see your controller and inputs displaying.
Recent Comments