Step 0: What You Need
The easiest approach:
- Purchase a complete pre-configured setup from here.
- Purchase any additional components from the “Additional Things” list below.
- Skip directly to Step 2.
The DIY approach:
- BeagleBone Black Rev C (4G) Single Board Computer Development Board
- USB USB A to mini B for BeagleBone Black
- Ethernet cable
- MicroSD Card >= 4GB
- MicroSD Card Reader of some kind, like this
- (Optional) A case
Additional things you may need:
- (May Be Necessary) 1 or 2 USB Extension Cables
- (For original Xbox only) USB Adapter Cable for Xbox
- (For original Xbox only) Xbox Controller to PC USB Adapter Cable
- (For Neo Geo Mini only) USB C Adapter Hi-Speed USB USB-A 3.0 to USB Type C
- (For Neo Geo Mini only) USB Type-C to USB 3.1 Gen1 Female Adapter Cable
Step 1: Install the latest RetroSpy OS image
Step 1a: Download the latest software image
Download the lastest RetroSpy image from here. The file you download will have an .img.xz extension. This is a compressed sector-by-sector image of the SD card.
Step 1b: Install SD card programming utility
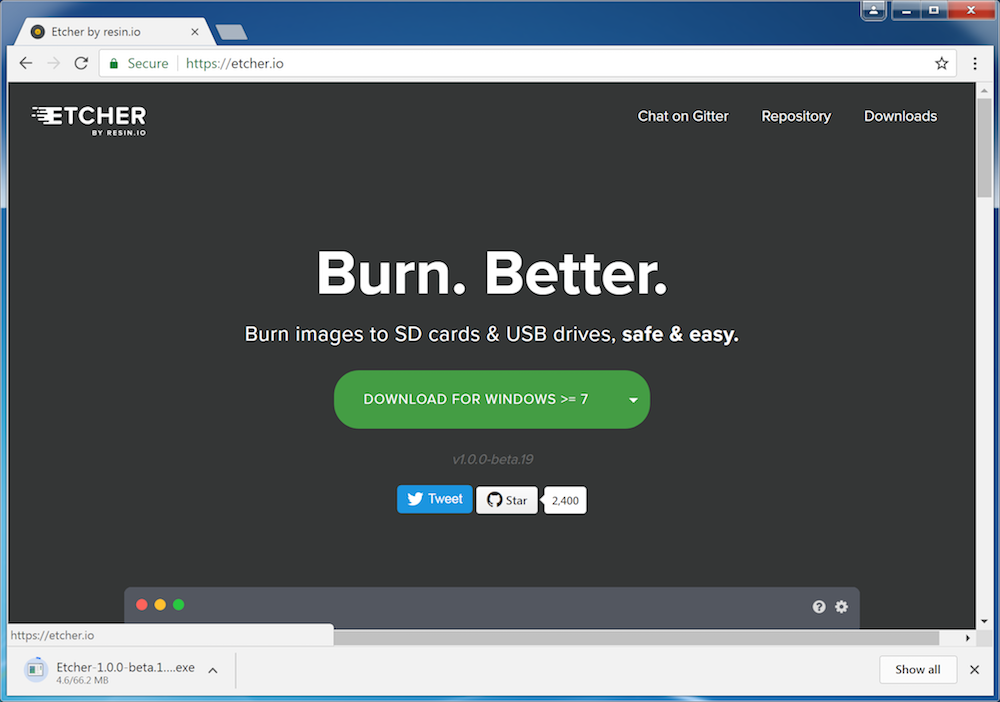
Download and install Etcher.
Step 1c: Connect SD card to your computer
Use your computer’s SD slot or a USB adapter to connect the SD card to your computer.
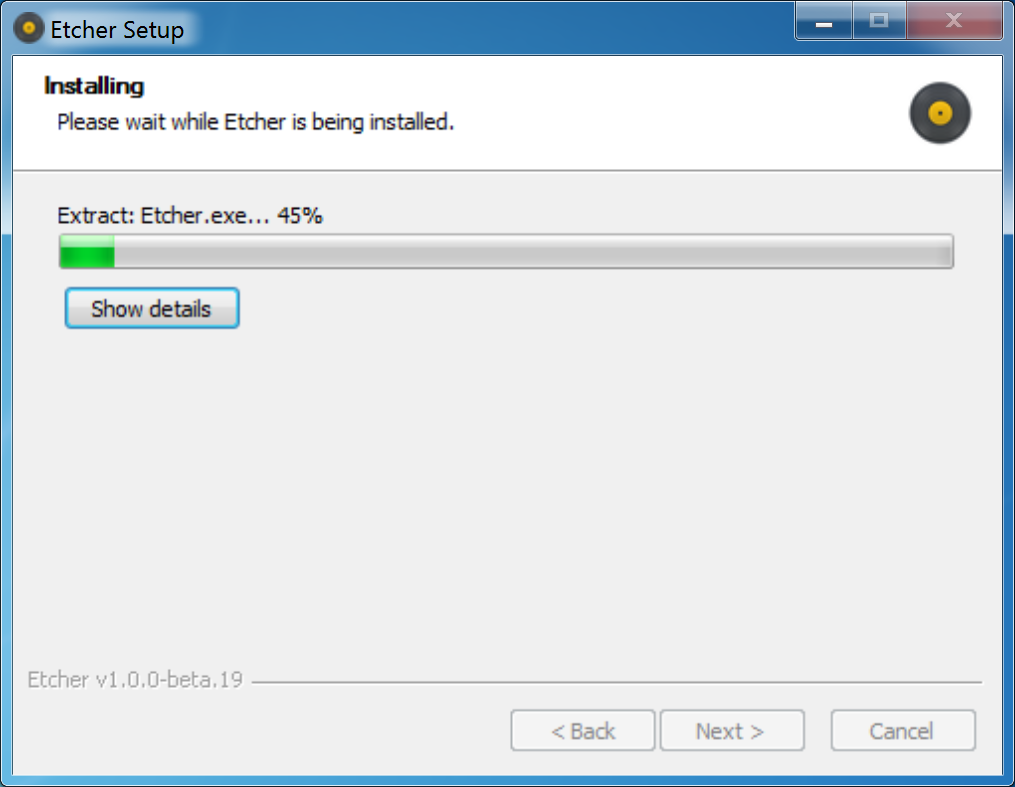
Step 1d: Write the image to your SD card
Use Etcher to write the image to your SD card. Etcher will transparently decompress the image on-the-fly before writing it to the SD card.
Step 1e: Eject the SD card
Eject the newly programmed SD card.
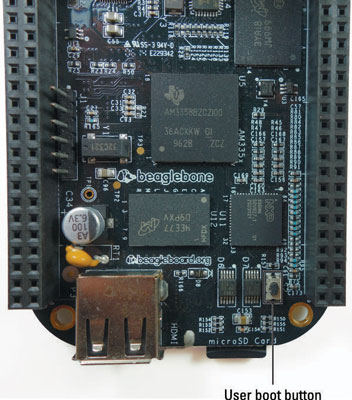
Step 1f: Boot your board off of the SD card
Insert the SD card into your powered-down board, hold down the USER/BOOT button and apply power via the USB cable that came with the board. You should continue to hold the USER/BOOT button for 5 to 7 seconds and then release it. The USR LEDs blink during this process. Flashing can take about 30 to 40 minutes. When this process is finished, all four USR LEDs will be off.
Step 1g: Unplug your board
Step 1h: Remove the SD card from your board
If you don’t remove the microSD card the next time you boot your BeagleBone Black, or if you remove the microSD card while the flashing process is occurring, your eMMC memory can get corrupted and your BeagleBone Black won’t boot. If the card does become corrupt, you have to repeat this process to flash your BeagleBone’s eMMC memory properly.
Step 2: Hook everything up
Hook everything up according to the picture below.
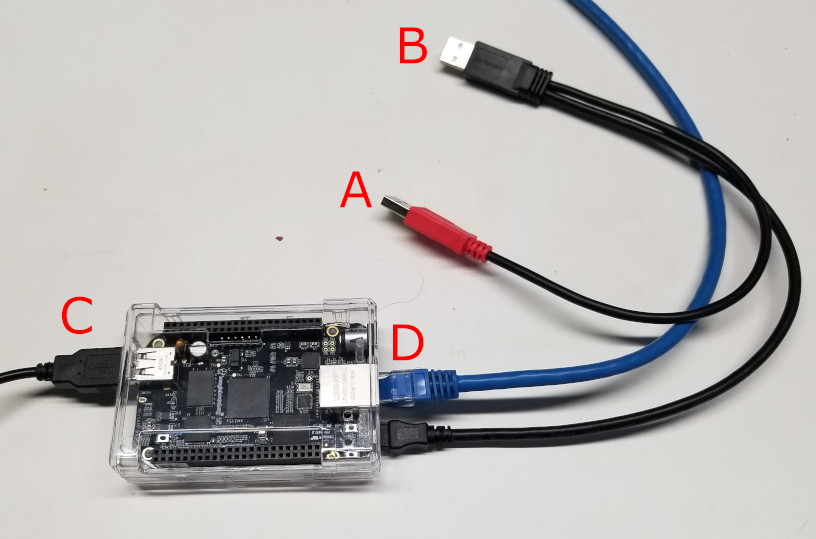
A. Power
This can be a USB port on your computer or a wall plug like a cell phone charger.
B. Console
C. Controller
D. Ethernet
Step 3: Find your IP
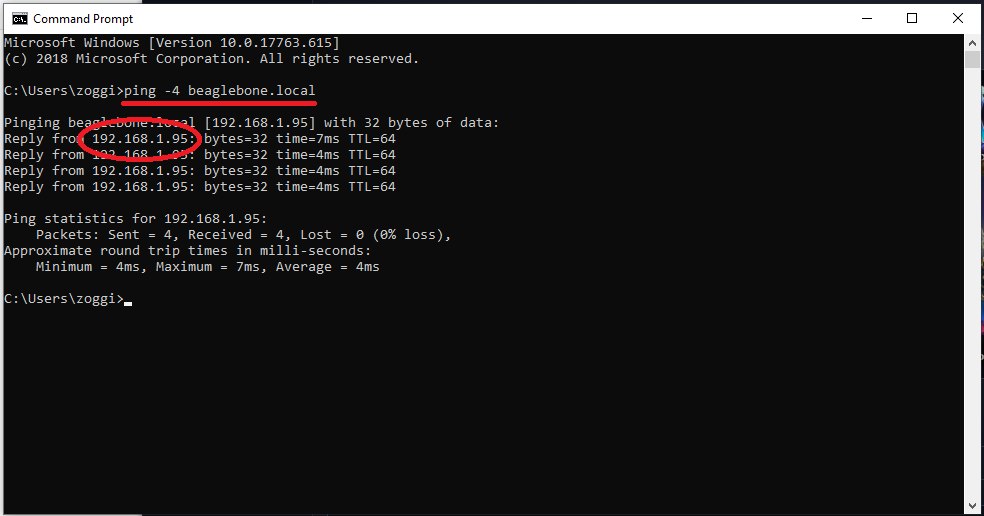
Unfortunately finding the IP of your board is more art than science. Theoretically, the board should be broadcasting itself as beaglebone.local on your network, but it seems somewhat flakey. You can test whether its reachable by opening cmd in windows and pinging the hostname, by running:
ping -4 beaglebone.local
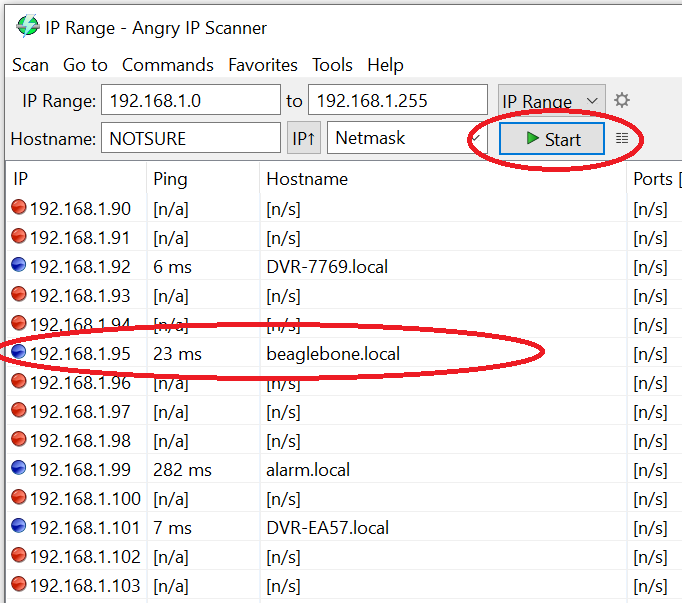
If ping doesn’t work we will need to find the IP another way. If you have another means to figure it out, like finding it via your router, go for it. Otherwise download and install Angry IP Scanner. Once installed open the program and start a scan. In the scan results you are looking for the IP associated with beaglebone.local.
If you cannot find it in the scan then we will have to find another way, but I am hoping these two methods are sufficient. Feel free to reach out to me if you still cannot find the IP of your board on your network.
Regardless of how you found it, note the current IP of the board.
NOTE: Routers tend to reassign the same IP for the same device between reboots, but this is a step you may have to repeat in the future if your router assigns a different IP to the board.
Step 4: Starting up RetroSpy
Each system currently has its own quirks (due to the fact that I cobbled all this together in about a week). So follow the links to the system you are trying to spy on: Nintendo Switch, PlayStation Classic, Microsoft Xbox 360, Microsoft Xbox, Sega Genesis Mini, The C64 Mini, Neo Geo Mini, TurboGrafx-16 Mini, PlayStation 3, PlayStation 4 or Atari VCS.
Recent Comments